> ## Documentation Index
> Fetch the complete documentation index at: https://docs.portalhq.io/llms.txt
> Use this file to discover all available pages before exploring further.
# Overview
> Connect your Noah account to Portal to manage virtual bank accounts and global payouts.
## Overview
Portal integrates with [Noah](https://www.noah.com/) so you can manage virtual bank accounts and global payouts through Portal Client API endpoints.
This page covers one-time setup in the Portal Dashboard and links to workflow guides.
## Steps to enable the Portal Noah integration
### 1. Create your Noah credentials
* Create or access your Noah business account.
* Generate a Noah API key with request-signing key configuration (see [Request Signing Key Generation](https://docs.noah.com/api-concepts/authentication/signing/#request-signing-key-generation)).
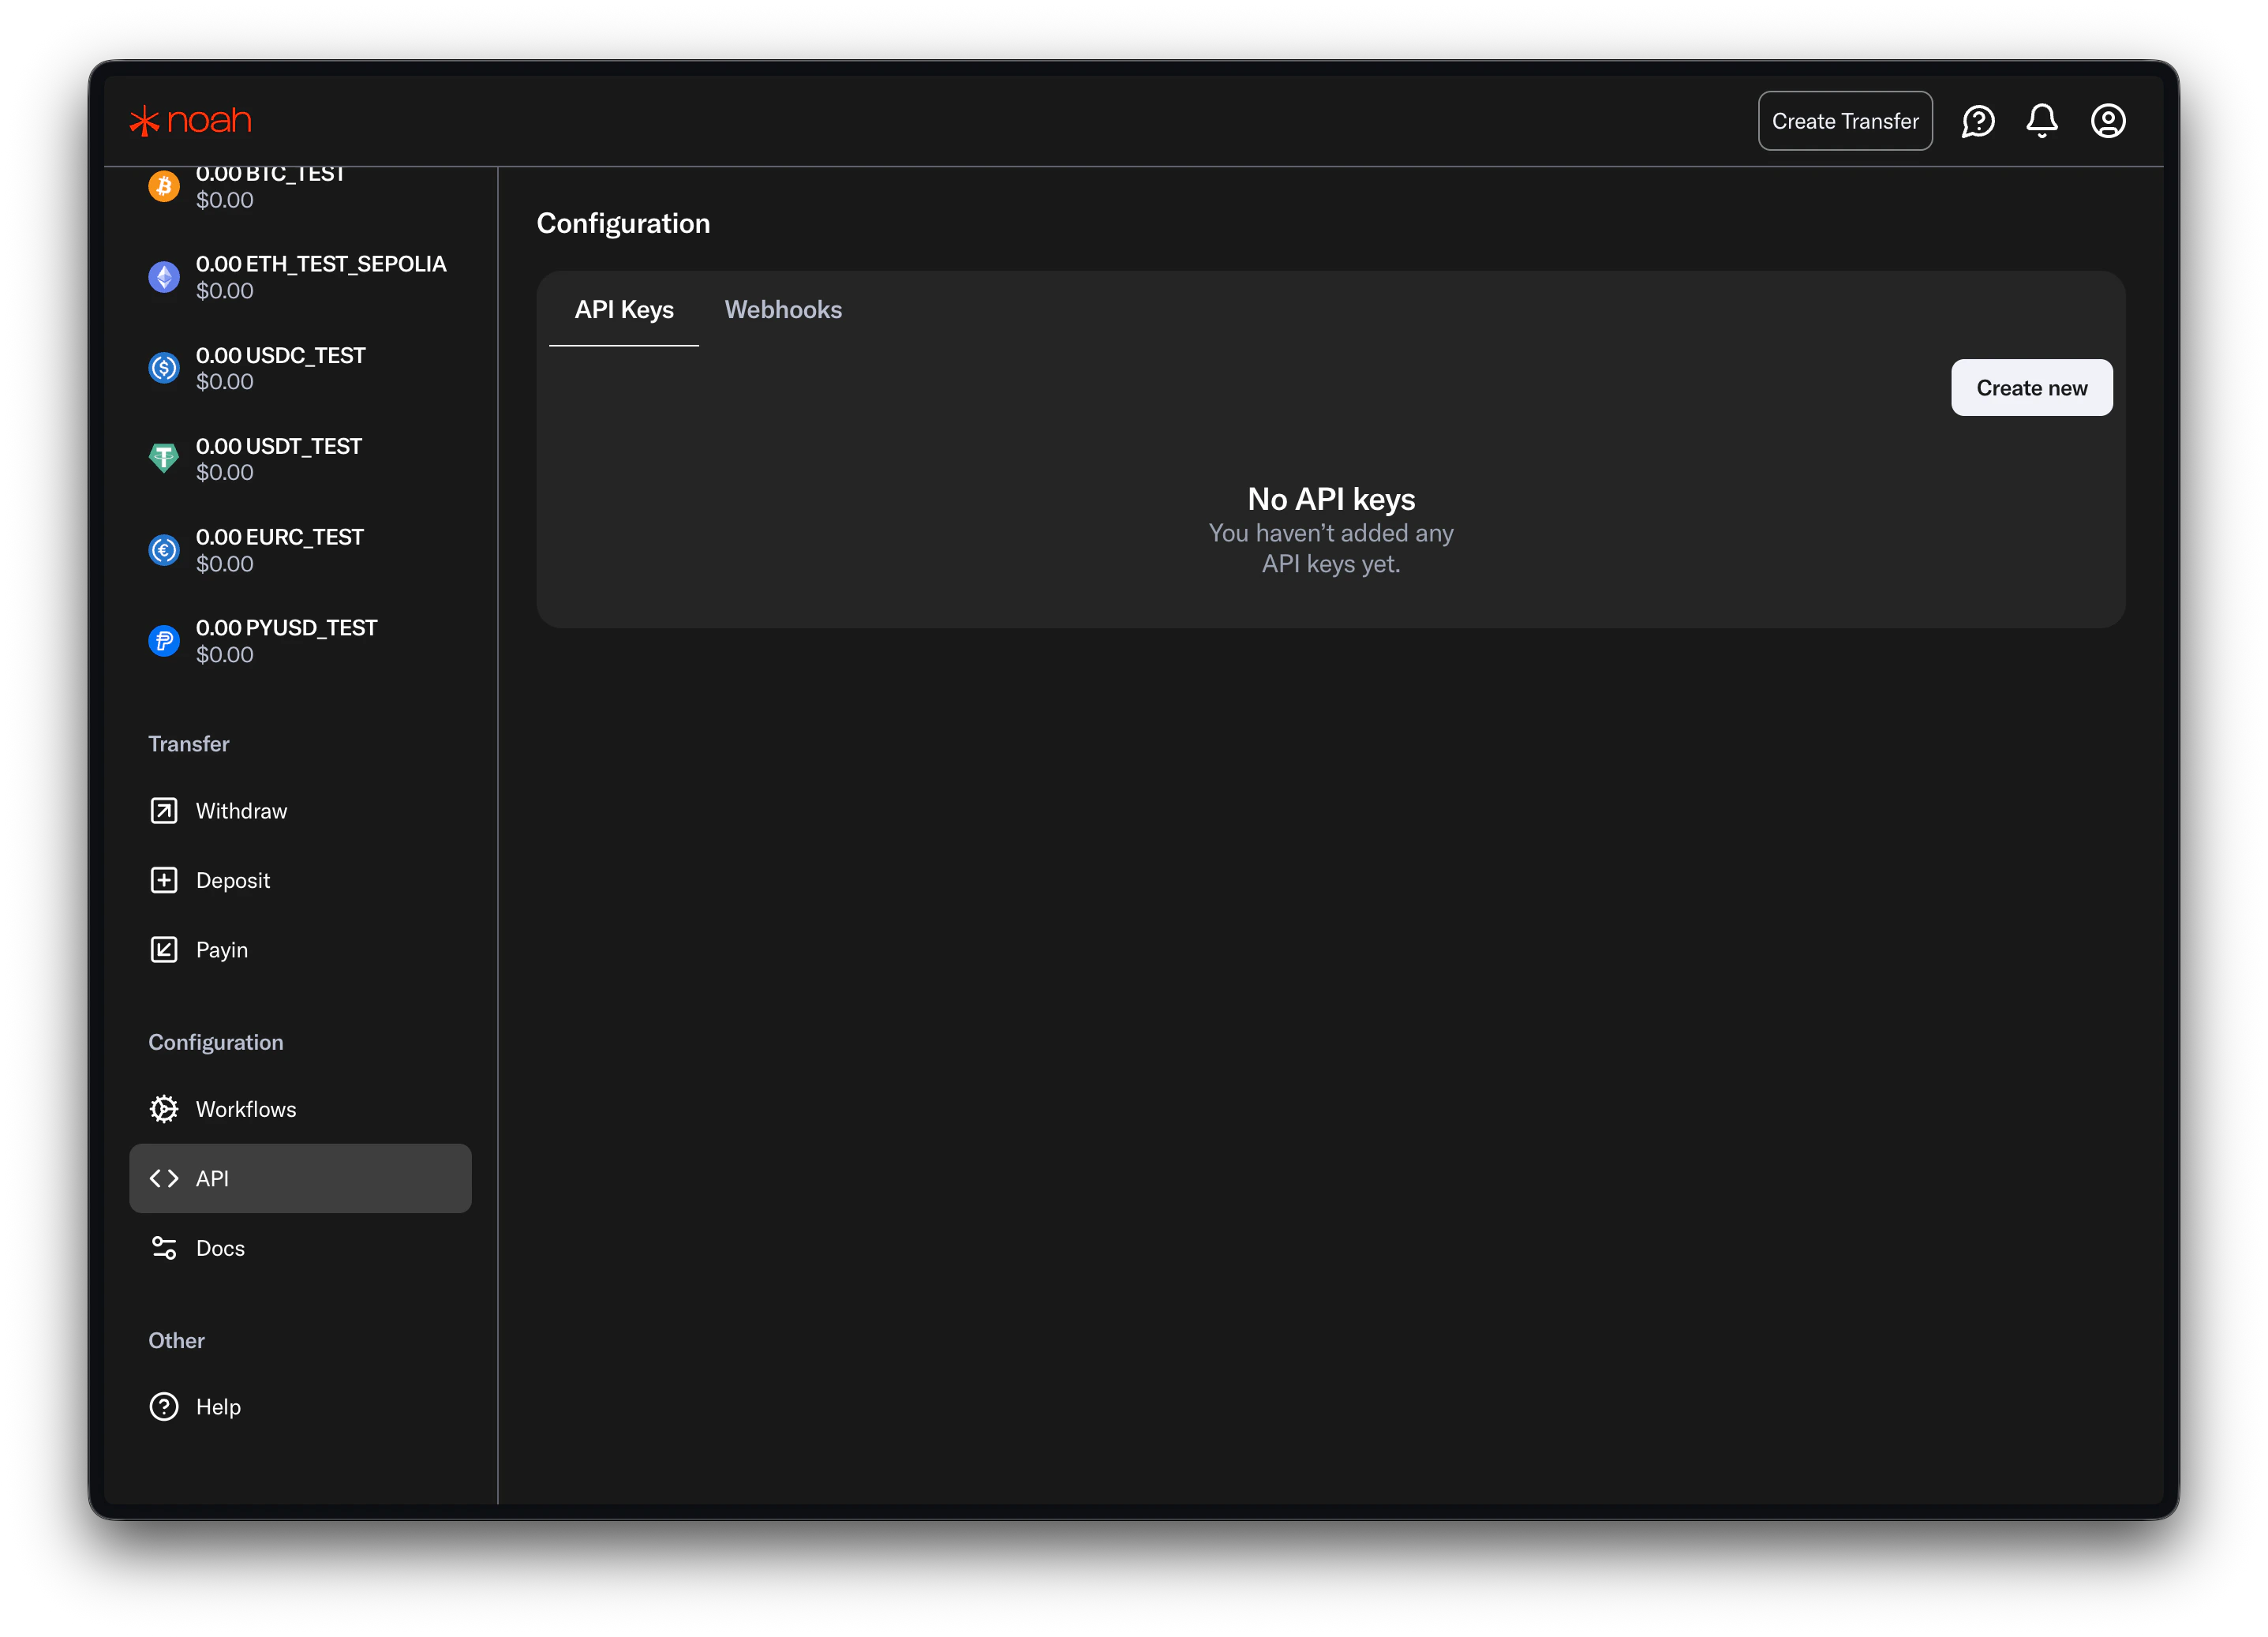
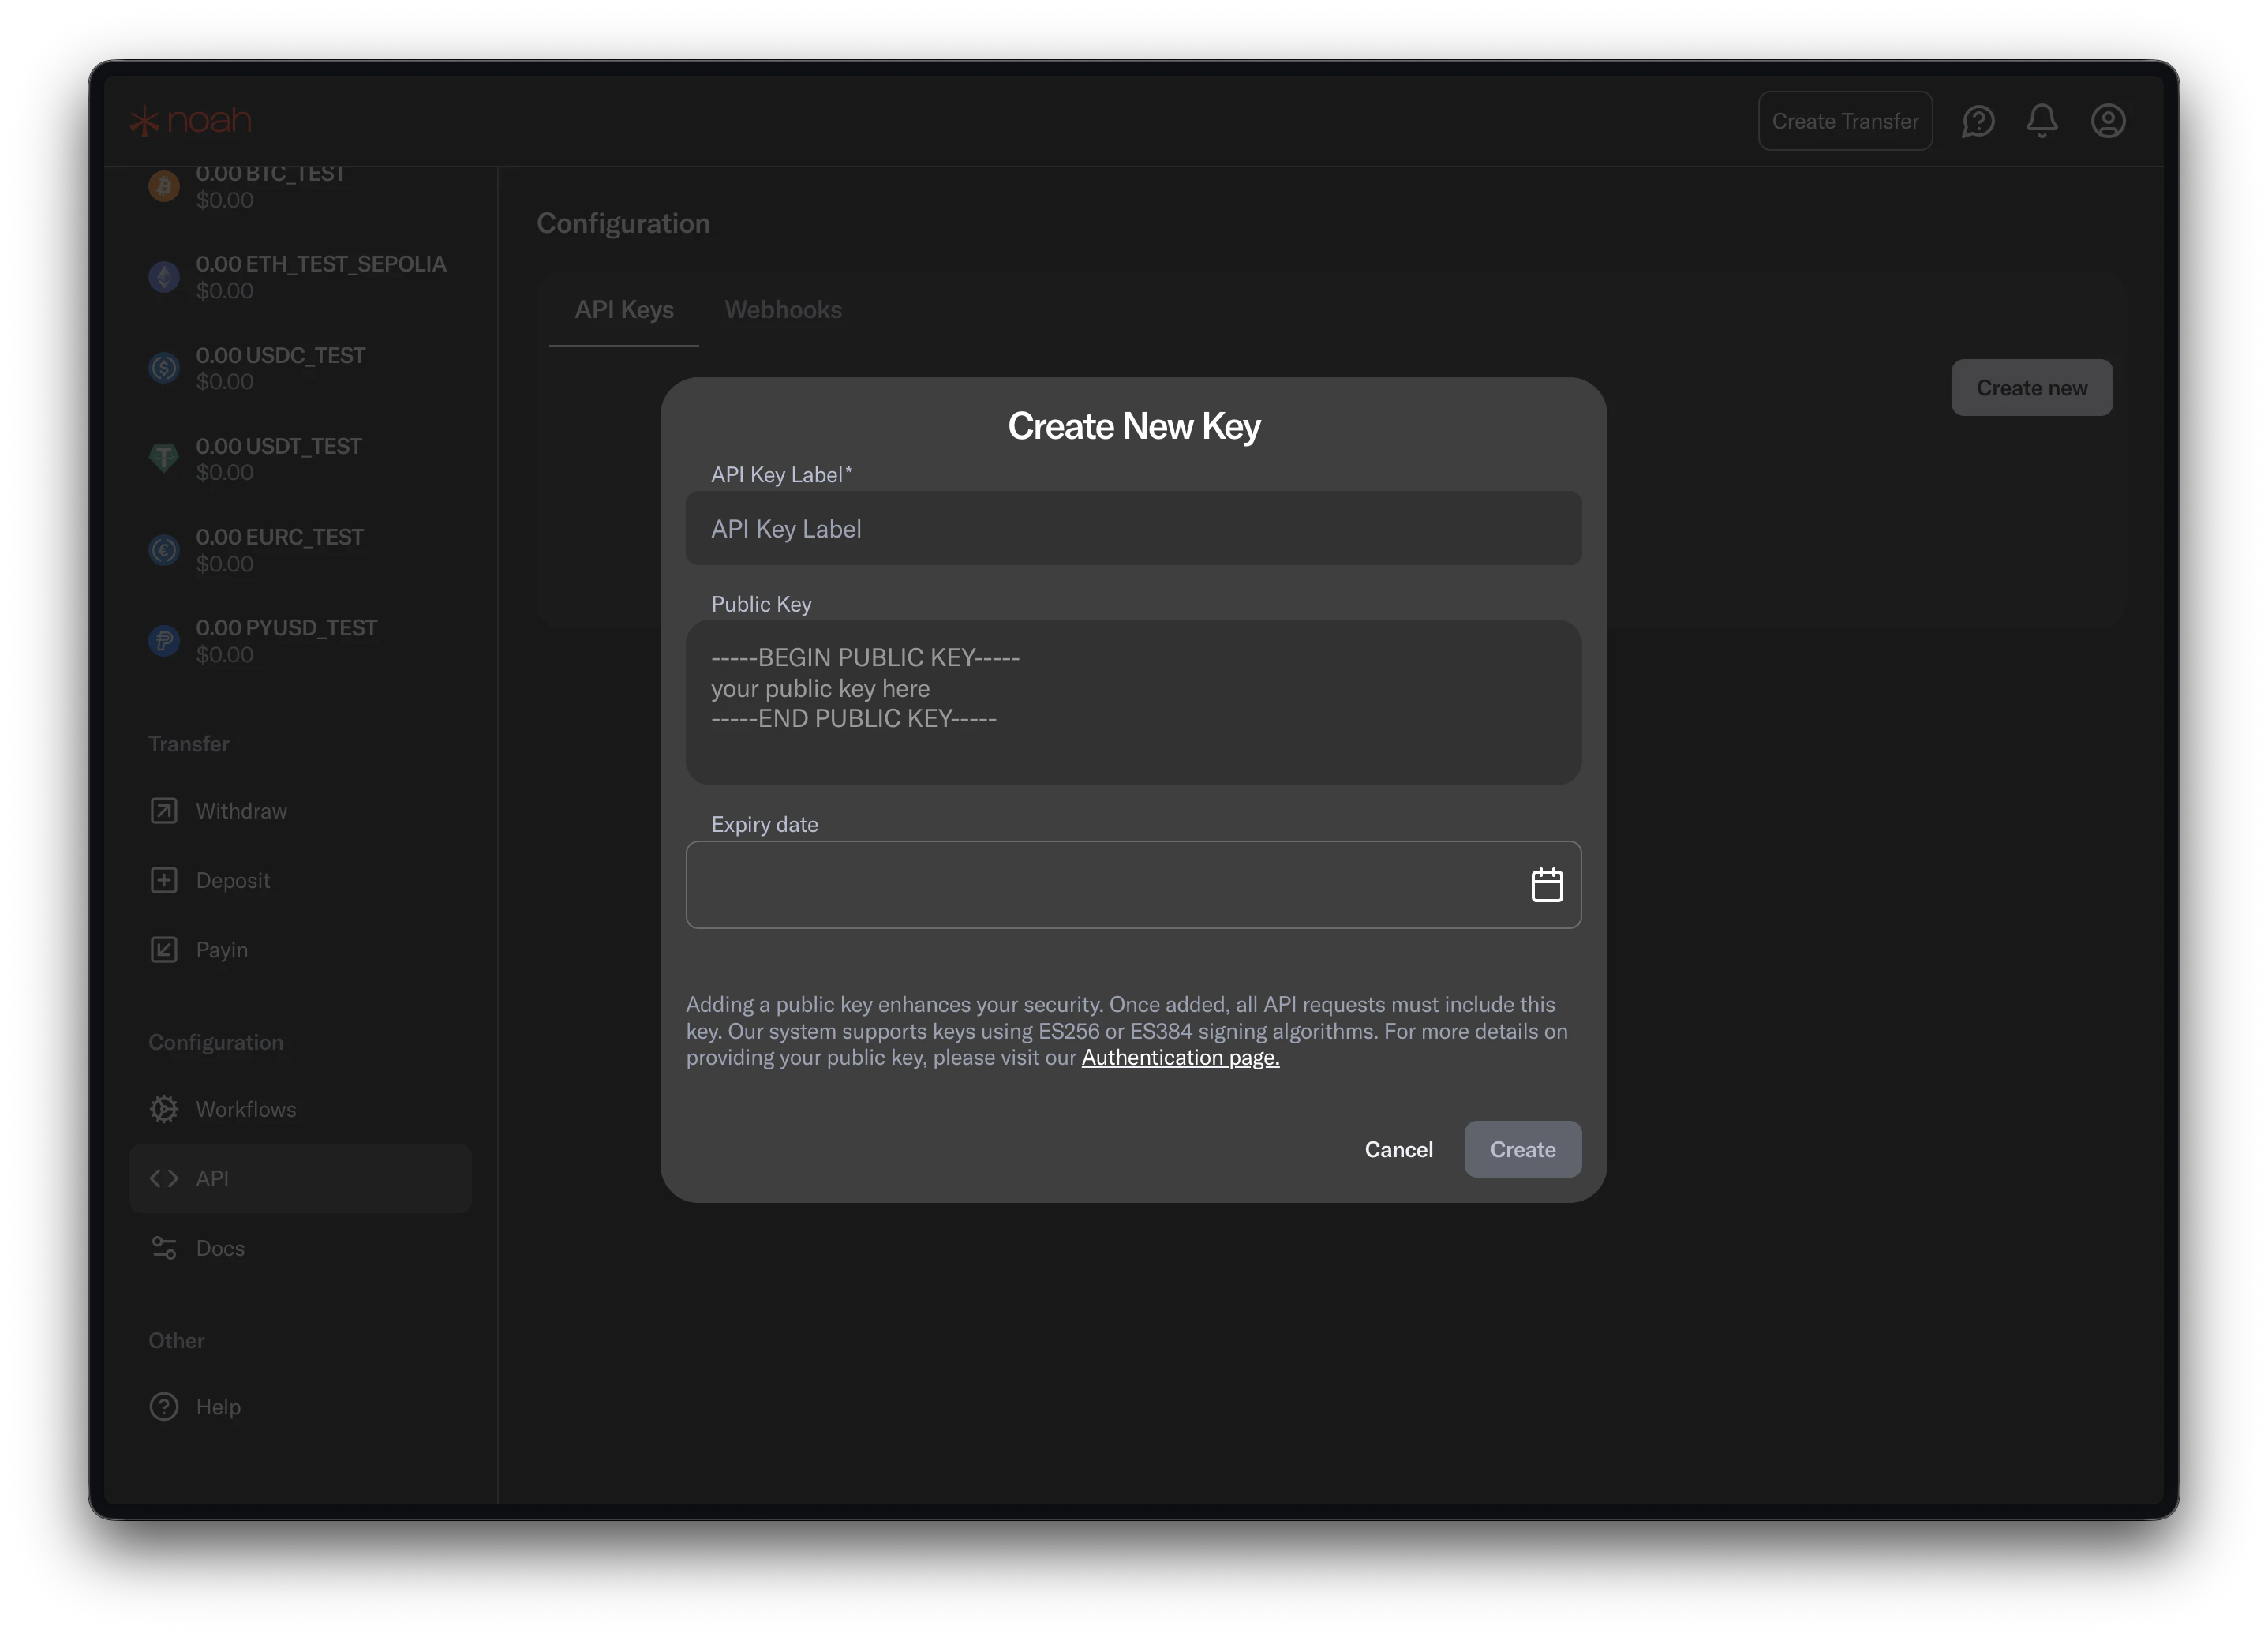 Keep your Noah credentials secure. You will configure them in Portal in the next step, and Portal will proxy requests server-side.
Portal requires Noah request signing credentials for both sandbox and production environments.
### 2. Enable the Noah integration in Portal
1. Open the [Portal Dashboard](https://app.portalhq.io).
2. Navigate to the `Integrations` page.
3. Locate `Noah` and add the integration.
4. Provide your Noah API key.
5. Provide your Noah signing private key in the integration configuration.
6. Save changes for your selected Portal environment.
Integrations are environment-scoped. Configure Noah separately for each environment (for example Development and Production).
### 3. Configure webhooks in Noah Dashboard
Configure your webhook endpoint and subscribe to Noah events directly in Noah Dashboard.
See [Webhooks](/integrations/On-Off-Ramp/noah-webhooks).
## Supported networks
Portal accepts CAIP-2 network identifiers and maps them to Noah network names.
| CAIP-2 | Noah network |
| ----------------- | --------------------- |
| `eip155:1` | `Ethereum` |
| `eip155:11155111` | `EthereumTestSepolia` |
| `eip155:8453` | `Base` |
| `eip155:84532` | `BaseTestSepolia` |
| `eip155:100` | `Gnosis` |
| `eip155:10200` | `GnosisTestChiado` |
| `eip155:137` | `PolygonPos` |
| `eip155:80002` | `PolygonTestAmoy` |
| `solana:mainnet` | `Solana` |
| `solana:devnet` | `SolanaDevnet` |
## SDK guides
* [Noah virtual accounts and payouts](/sdks/web/guide/noah) using the Web SDK
* [Noah virtual accounts and payouts](/sdks/react-native/guide/noah) using the React Native SDK
## Workflow guides
* [KYC Onboarding](/integrations/On-Off-Ramp/noah-kyc)
* [Payins](/integrations/On-Off-Ramp/noah-payins)
* [Payouts](/integrations/On-Off-Ramp/noah-payouts)
* [Webhooks](/integrations/On-Off-Ramp/noah-webhooks)
## API reference
Open the interactive Noah endpoints reference.
If you are implementing payin and payout flows, start with KYC first. Payin and payout initiation endpoints require an approved Noah KYC status.
Keep your Noah credentials secure. You will configure them in Portal in the next step, and Portal will proxy requests server-side.
Portal requires Noah request signing credentials for both sandbox and production environments.
### 2. Enable the Noah integration in Portal
1. Open the [Portal Dashboard](https://app.portalhq.io).
2. Navigate to the `Integrations` page.
3. Locate `Noah` and add the integration.
4. Provide your Noah API key.
5. Provide your Noah signing private key in the integration configuration.
6. Save changes for your selected Portal environment.
Integrations are environment-scoped. Configure Noah separately for each environment (for example Development and Production).
### 3. Configure webhooks in Noah Dashboard
Configure your webhook endpoint and subscribe to Noah events directly in Noah Dashboard.
See [Webhooks](/integrations/On-Off-Ramp/noah-webhooks).
## Supported networks
Portal accepts CAIP-2 network identifiers and maps them to Noah network names.
| CAIP-2 | Noah network |
| ----------------- | --------------------- |
| `eip155:1` | `Ethereum` |
| `eip155:11155111` | `EthereumTestSepolia` |
| `eip155:8453` | `Base` |
| `eip155:84532` | `BaseTestSepolia` |
| `eip155:100` | `Gnosis` |
| `eip155:10200` | `GnosisTestChiado` |
| `eip155:137` | `PolygonPos` |
| `eip155:80002` | `PolygonTestAmoy` |
| `solana:mainnet` | `Solana` |
| `solana:devnet` | `SolanaDevnet` |
## SDK guides
* [Noah virtual accounts and payouts](/sdks/web/guide/noah) using the Web SDK
* [Noah virtual accounts and payouts](/sdks/react-native/guide/noah) using the React Native SDK
## Workflow guides
* [KYC Onboarding](/integrations/On-Off-Ramp/noah-kyc)
* [Payins](/integrations/On-Off-Ramp/noah-payins)
* [Payouts](/integrations/On-Off-Ramp/noah-payouts)
* [Webhooks](/integrations/On-Off-Ramp/noah-webhooks)
## API reference
Open the interactive Noah endpoints reference.
If you are implementing payin and payout flows, start with KYC first. Payin and payout initiation endpoints require an approved Noah KYC status.