

Open the configuration page
Step 1: Log in to the Portal Admin Dashboard and select the environment you want to configure. Step 2: Click Configure in the left sidebar, under Authentication.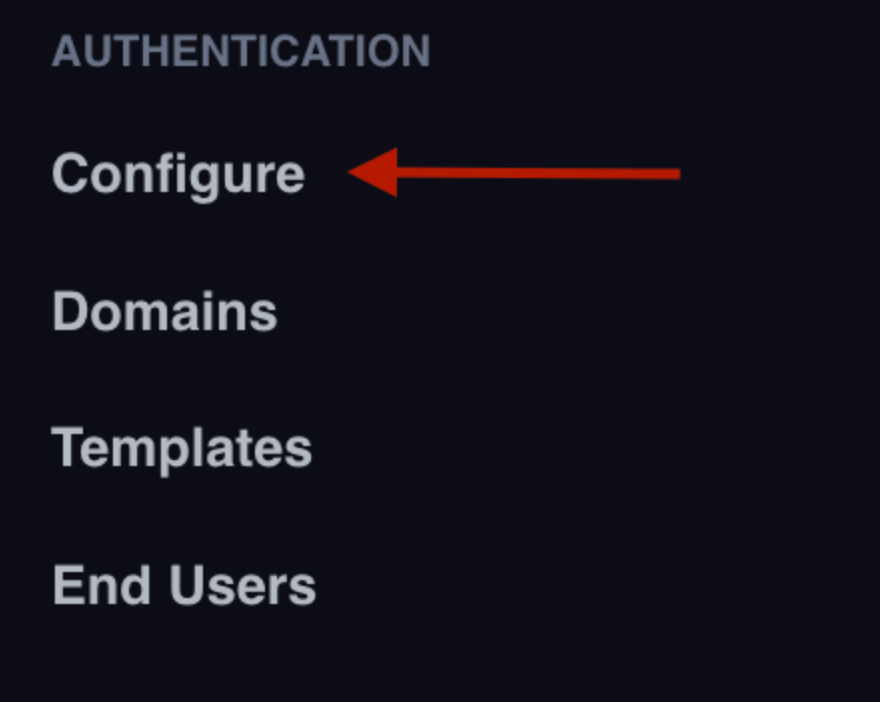
401.
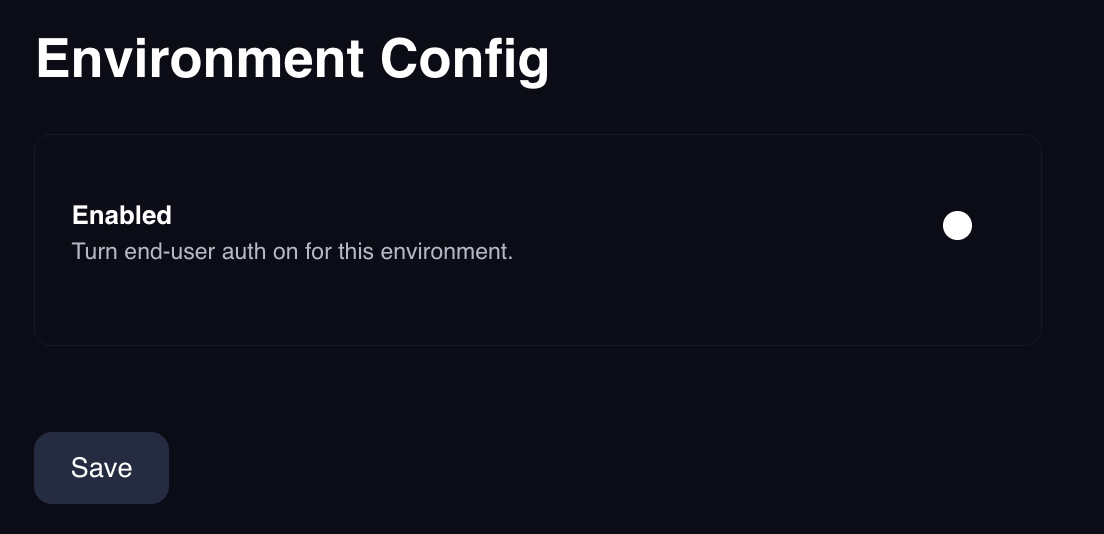
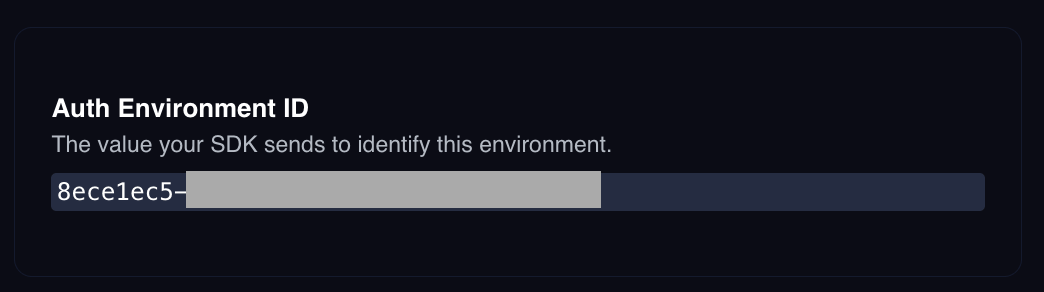
Auth Environment ID
The Auth Environment ID is the value your app sends in thex-portal-auth-environment-id header on every Authentication API request. Portal
generates it for you and it does not change. Copy it from this section.
General
Auto-create wallet records whether your app should create a wallet for a user as soon as they finish signing in. This is a boolean that is internally used in Portal SDKs to signal if a wallet should be created at the time an End User is created. Redirect URLs is the allow list of destinations in your app that a sign-in is allowed to return a user to. Add every one you use. A destination can be a web page, or a mobile app via a custom scheme: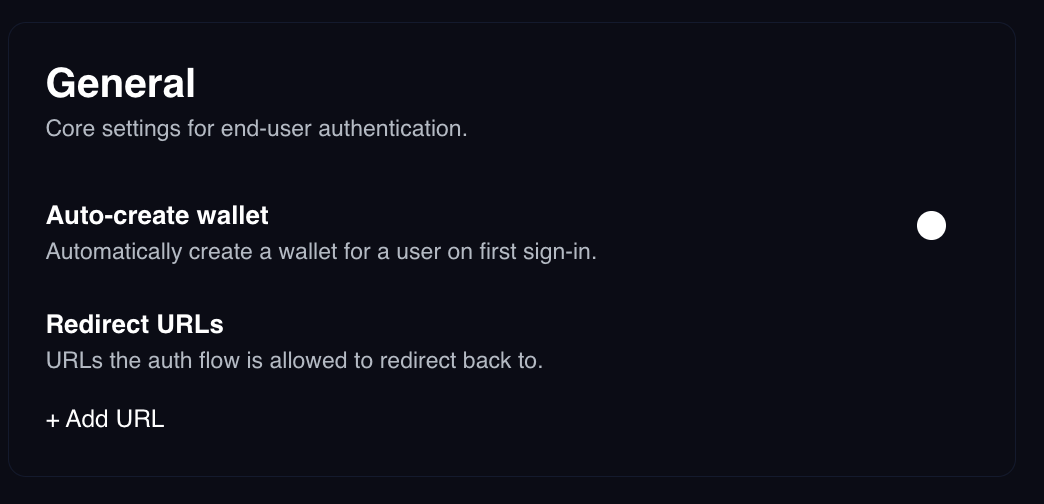
Choose sign-in methods
Each method has its own section with its own toggle. Enabling a method adds it to theallowedAuthMethods array returned by GET /auth/methods.
- Email Magic Link. No credentials to enter here, but before you can send anything you need a verified sending domain and an email template. See Email magic links.
- Google OAuth. Requires a Client ID and Client secret from Google Cloud Console. See Google OAuth.
- Apple OAuth. Requires a Team ID, App ID, Service ID, Key ID, and private key from your Apple Developer account. See Apple OAuth.
Provider credentials are write-only
Portal encrypts provider secrets and never returns them. If you need to check whether the credentials are configured or not, you can check the tag on the labels of the form. You can still replace the value if needed.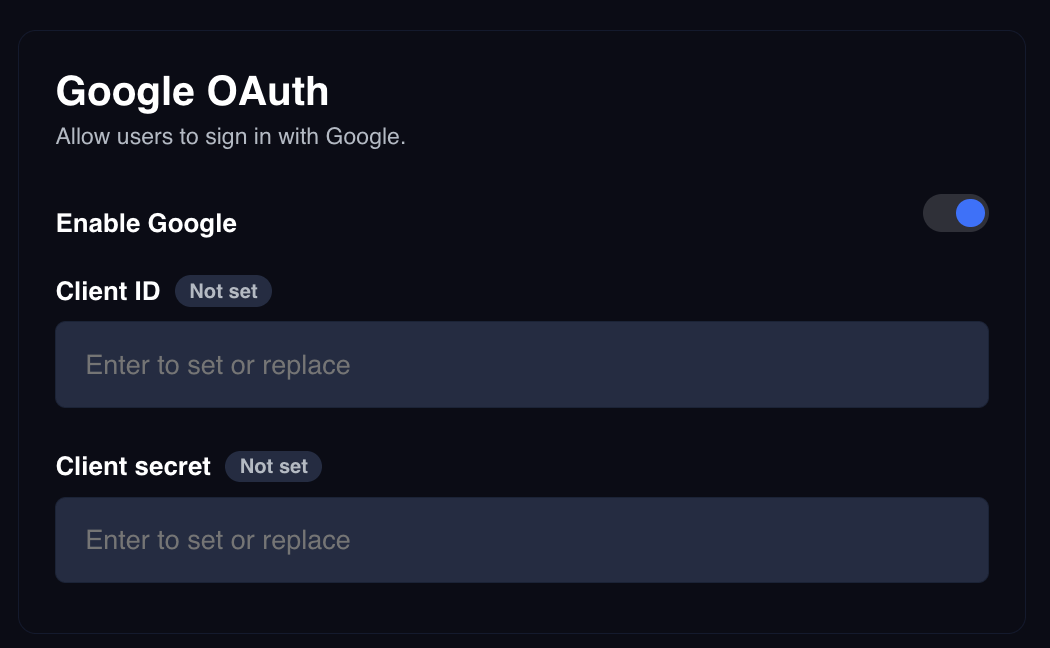
Require two-factor authentication
The TOTP section adds a second factor to every sign-in for this environment, whichever method the user chose.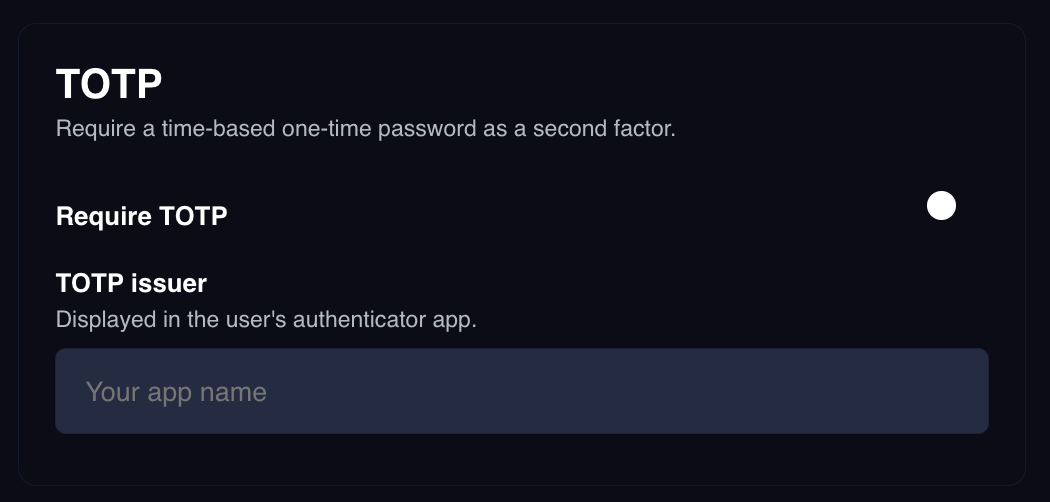
- Require TOTP turns the second factor on.
- TOTP issuer is the name shown next to the code in the user’s authenticator app. Use your product name.
Verify your configuration
CallGET /auth/methods with your Auth Environment ID to confirm the environment
is live and reporting the methods you expect:
401 here means the header does not match an environment, or Enabled is
still off.
Next steps
Email magic links
Verify a sending domain and build your magic link email.
Redirect URLs
How redirect matching works, and how to register a redirect in your app.
Google OAuth
Create a Google OAuth client and register Portal’s redirect URI.
Apple OAuth
Set up a Services ID and Sign in with Apple key.
End users
Review who has signed in and manage their two-factor enrollment.